this post follows my other creation with my Luxe Boxes from Loose Button (the previous black boxes) that you can check out here.
i have to say that the Glossybox version took me much much longer - it required more tools and extreme crafting skills like cutting the boxes up. yes that's a whole different level since i only punctured a couple holes and threw on some tape with the Luxe Boxes.
i'd like to give some major credit to a few ladies - one who invented the whole thing and others where i was able to draw ideas from:
* Janet from JanBan
* Laura from Laura's All Made Up
* Mimi from Red like Strawberry
i followed the steps according to the first two blogs listed above but there were a few suggestions i'd like to give you myself. let me know if you decide to give this a try!
materials required:

* 4 GlossyBoxes with lids
* glue (i used craft glue, others used superglue)
* utility knife (easier to cut cardboard with and more precise than scissors)
* assorted decorations
STEP ONE: Base
- cut off all the sides of Box 1... and by "sides", i mean the part where you measure the "depth" of the box. it's easiest to use a utility knife and go in at the corners.


STEP TWO: Sides
- cut off one long side from Lid 1 and Lid 2

STEP THREE
- hold Lid 1 up with the side that was just cut off facing you
- put glue on the bottom (short side)
- place Base (created in step one) on top of the glue

- repeat on the other side with Lid 2
- IMPORTANT: before the glue dries, slide in Box 2 and Box 3 in between just to make sure that they will fit later on. this was a mistake i made! if it doesn't, readjust. take the Boxes out when done.
- place some weight on the base and let the glue set

STEP FOUR: Back
- take Lid 3 and cut off both short sides and ONLY the pink part on both of the long sides

- try to flatten it out as much as possible
- IMPORTANT: place the Back piece inside to double check the fitting. slide Box 2 and 3 in. readjust if necessary. remove when complete.
STEP FIVE
- lay the connected Base & Sides masterpiece on its side with the sides that were cut off facing up
- put glue on the bottom (long sides of Lid 1 and Lid 2)
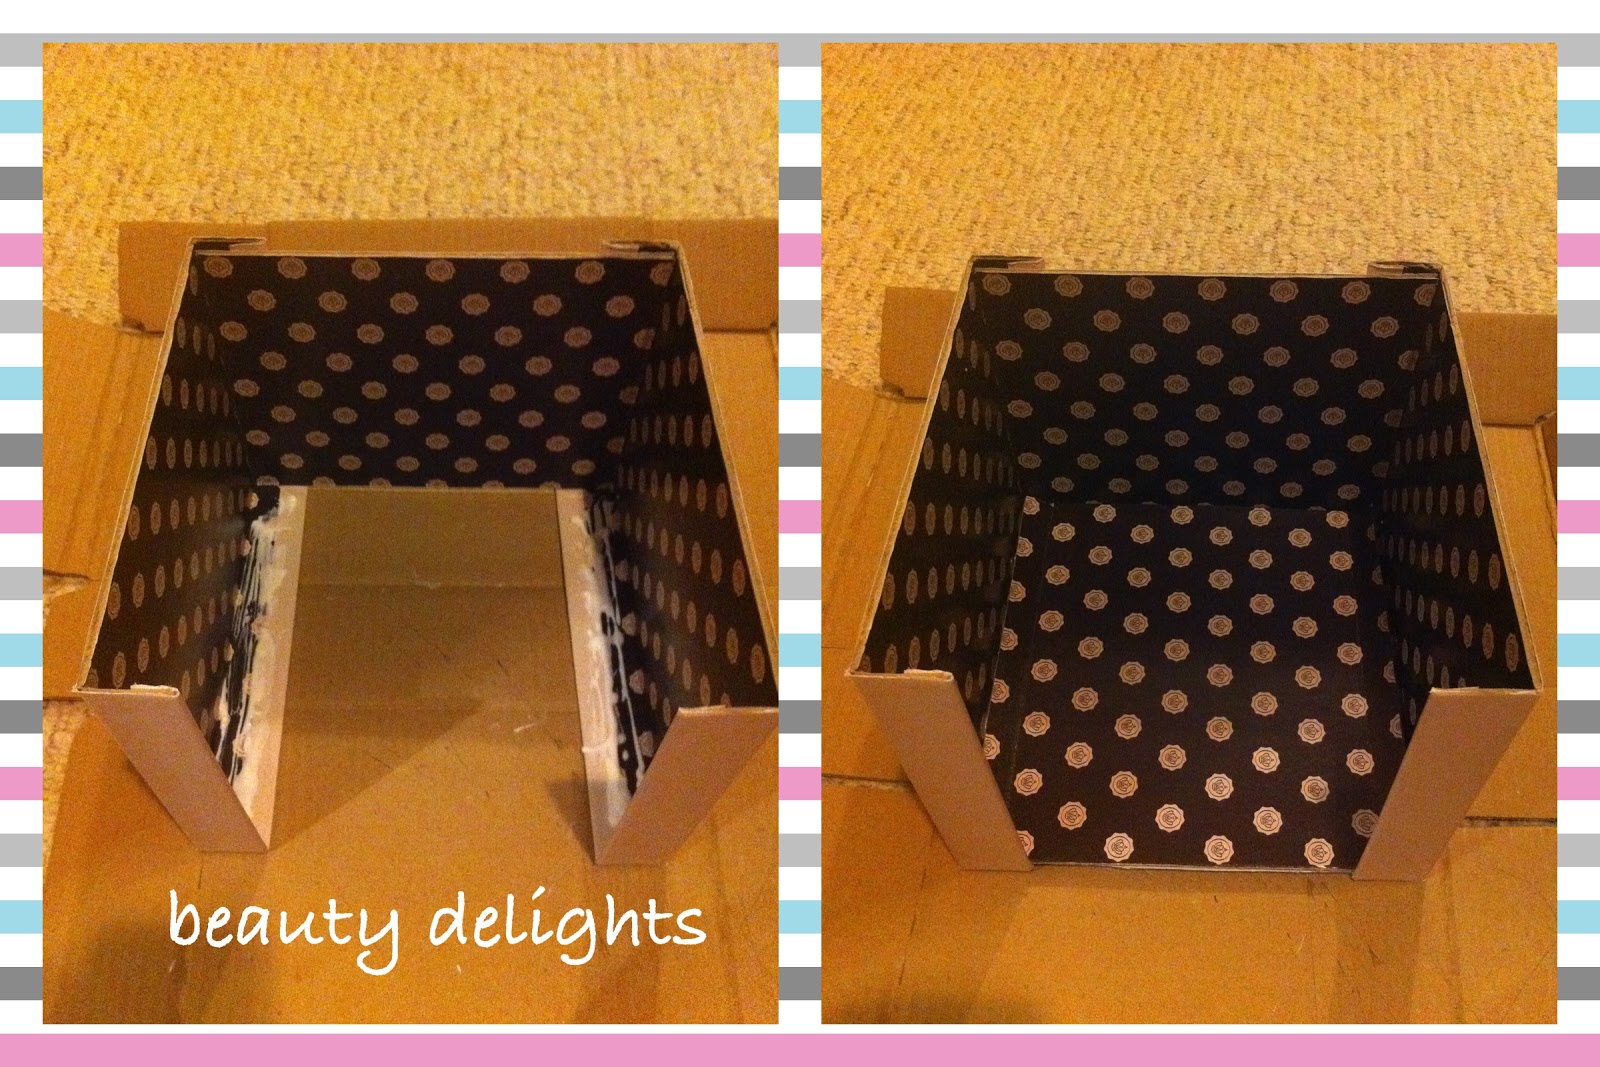
- place the Back (step four) onto the glue. put some heavier weight on it since the sides are lifted. wait for the glue to dry.

for some reason, i had a bottle of honey in my room
- OPTIONAL: you may want to clean up the edges at this point since the front where the sides were cut off will be visible. i used electrical tape since it was black and taped around the edges.

STEP SIX
- place upright and put glue on the top sides of Lid 1 and Lid 2
- put Lid 4 on top


STEP SEVEN
- insert Box 2, 3, and 4 like drawers and cross your fingers!
i should never start a project at 11:20 PM... it was like 2:10 AM when i decided to go to bed and i was not even finished.
from here, you can decorate as you like. there are many different ways you can create handles for the drawers. many of the ladies i mentioned above taped on some ribbon but i just kept yanking the ribbon completely off the drawer. i needed something sturdier so i used some 3/8" black ribbon (that i already had from last Halloween - so bonus points for reusing supplies!), the pink Glossybox ribbon, scissors, craft glue and some pearl/diamond stickers for elegance.

i punctured a hole through the drawer and sewed in loops. it's still not as sturdy as i hoped since there is a bit of resistance when pulling the drawers out, but it will do.
and now, the finished product:


TA DA! it's not perfect but i really like it :)
and in case the black background makes the drawers look like they're floating in a black hole, here's some contrast with artificial lighting:


my Luxe Box drawers has a new friend! i've added a couple boxes to it since my Reusing Your Luxe Boxes post but my dollar store is currently out of the red border stickers so the bottom half looks a little naked.

let me know if you attempt this and have any questions.
a downer though now that Glossybox is increasing their monthly subscriptions to $21 (boooooo!). on their FB, they stated that they will be improving their boxes and including higher quality products. i am thinking that October's box will be great in an effort to prove that the $6 (40% increase!) is worth it but who knows from then on... it's going to be more difficult justifying paying $21 per month for a box of samples. i wished that they did the Glymm thing where they kept all current subscribers at the old rate. oh well! we will see we will see.
on another note, Topbox is holding a Benefit giveaway on Facebook, sign up here!


